CentOS 7.x 安装 ZSH 终端

一、安装基本组件

  1. 首先执行 yum 命令来安装需要的 zsh 原始程序与 git 程序来 pull 代码。

    1
    
    yum install -y zsh git
    
  2. 安装 oh my zsh 脚本 (这一步需要安装 git)。

    1
    
    wget https://github.com/robbyrussell/oh-my-zsh/raw/master/tools/install.sh -O - | sh
    
  3. 使用 which zsh 查看 zsh 的安装目录,一般都存储在 /usr/bin/zsh 目录下。

    1
    
    which zsh
    
  4. 使用 chsh 命令切换使用的 shell 程序。

    1
    
    chsh -s /usr/bin/zsh
    

二、进行可选配置

2.1 安装 ZSH 图标字体

执行以下命令在当前目录拉取图标的仓库,并切换到其目录下,执行 ./install.sh 脚本即可安装成功。

1
git clone https://github.com/powerline/fonts.git

2.2 更换 ZSH 主题

使用 vi 工具编辑 /root/.zshrc 文件,更改 ZSH_THEME="robbyussell" 字段为 ZSH_THEME="agnoster" 字段,并通过 source ~/.zshrc 命令更新它们的配置文件。

2.3 安装插件

使用 ZSH 替换原有的 SHELL 最主要的原因就是要使用其功能强大的插件,这里只推荐安装三个插件,它们分别是 wdzsh-syntax-highlightingzsh-autosuggestions

首先依次执行下列的命令,将后面两个插件的仓库克隆到 Oh My Zsh 的插件目录下。

1
2
3
cd ~/.oh-my-zsh/custom/plugins
git clone https://github.com/zsh-users/zsh-syntax-highlighting.git
git clone https://github.com/zsh-users/zsh-autosuggestions.git

完成克隆操作之后,那么两个插件的全路径分别是:

1
2
/root/.oh-my-zsh/custom/plugins/zsh-autosuggestions/zsh-syntax-highlighting.zsh
/root/.oh-my-zsh/custom/plugins/zsh-autosuggestions/zsh-autosuggestions.zsh

继续使用 vi 编辑 ~/.zshrc 文件。

 1
 2
 3
 4
 5
 6
 7
 8
 9
10
11
12
# 其他内容
plugins=(
  git
  wd
  zsh-syntax-highlighting
  zsh-autosuggestions
)

source /root/.oh-my-zsh/custom/plugins/zsh-syntax-highlighting/zsh-syntax-highlighting.zsh
source /root/.oh-my-zsh/custom/plugins/zsh-autosuggestions/zsh-autosuggestions.zsh
source $ZSH/oh-my-zsh.sh
# 其他内容

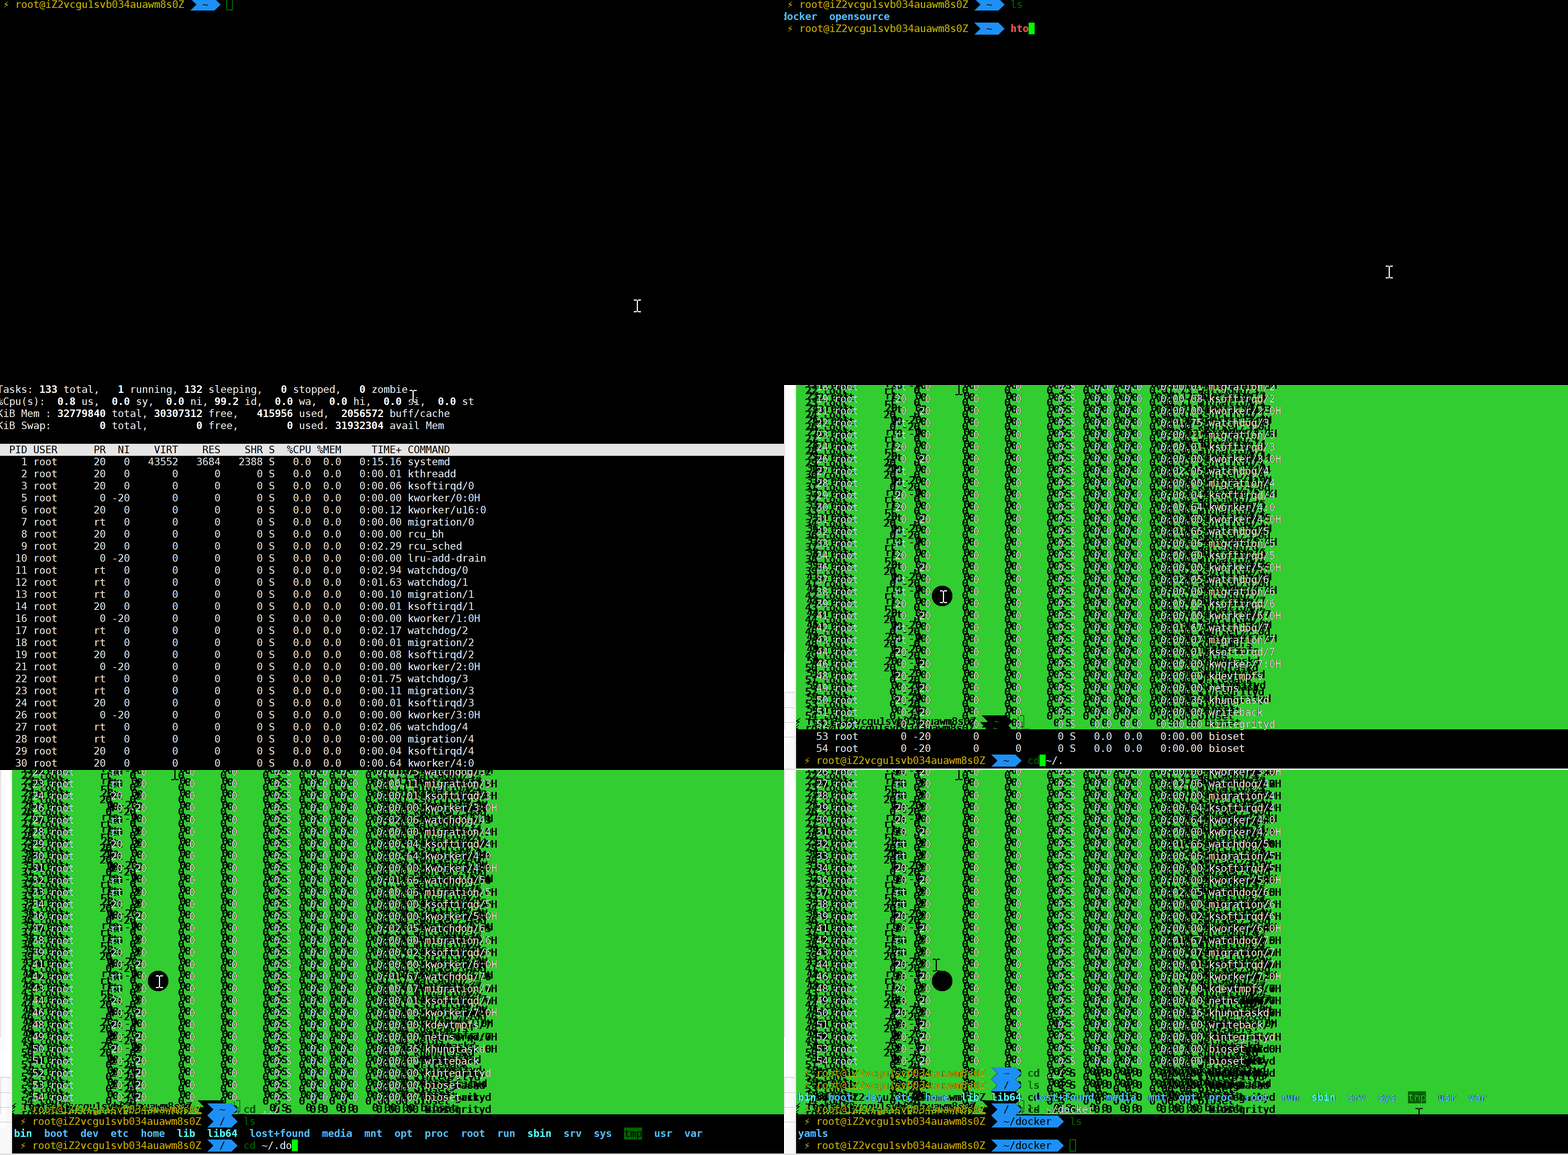
编辑完成之后,执行 source ~/.zshrc 命令更新 ZSH 配置,最后的效果如下图。
20190826194101

Built with Hugo
主题 StackJimmy 设计